
Our slightly obsessive but totally doable step-by-step guide to making your bike shine
A regular wash does more than polish up your bike, says Mike Yozell, Bicycling’s in-house mechanic. “It helps you find wear and tear so you can fix it before it’s too late.” He recommends cleaning a road bike monthly (or every 20 to 25 rides), a mountain or cross bike more often, and any bike after every messy ride. Here’s your plan.
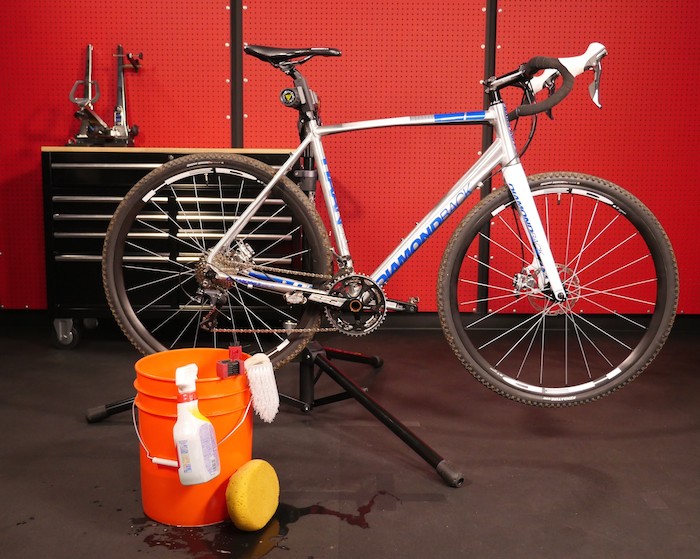
The Setup
Fill two clean buckets with water and a generous squirt of dish soap. (Mike likes Dawn Ultra.) Lay out your brushes, sponges, and rags.
Place your bike in a workstand. This brings it up off the ground and makes all the nooks and crannies easier to reach. No workstand? Try hooking the nose of your saddle over a taut clothesline.
Next, remove your wheels. “I like to insert a chain keeper [a guide for your chain when the cassette is removed] to keep tension on the drivetrain,” Mike says. It’s fine to skip this step if you don’t want to spring for the tool, but using one prevents the chain from folding up on itself or falling off the bike when you try to work on it. Trust us, it’s annoying.

The Wash
Step 1: Chain
“Apply a degreaser and turn the cranks backward so the product gets on every link,” says Mike. “Then go have an espresso while it does its thing for 5 to 10 minutes.” Rinse with a gentle stream of water from the hose. If the chain is still grimy, apply small drops of dish soap like you would a lube, grip the chain in the rough side of your sponge, then turn the cranks for several rotations. Rinse.
Step 2: Drivetrain
Dip a stiff-bristled brush into one of your prefilled buckets and scrub the chainrings. “Use a bottle brush or toothbrush to get into crevices around the teeth, pulleys, and rings,” Mike says. Rinse with a gentle stream of water and repeat if you still see any lingering crud. Next, grab your rear wheel and drip dish soap onto the cassette, scrub, then rinse. Repeat if necessary.

Step 3: Frame
Dip a clean, soft sponge into your second (fresh) bucket. Soap up the frame, working your way from front to back. “Be methodical so you remember what you’ve done,” Mike says. Rinse. If you have caliper brakes, clean the pads with the abrasive side of the sponge.

Step 4: Wheels
“I use softer and bigger brushes for tires and rims so they get into crevices with less effort,” Mike says. Dunk your brush into the bucket you used for your frame. Starting at the valve, scrub all the way around the wheel, hit the spokes and hub, then flip the wheel to get the opposite side. Repeat on the other wheel. Rinse. (If you have disc brakes, use the soft side of a clean sponge with soap and water on rotors.)

The Finish
Reattach the wheels and spin the cranks to make sure the drivetrain runs smoothly. Wipe everything down with a dry cloth or let it air-dry in the sun. Lube your chain.
Do:
Recycle your dish sponges. You’ll get another couple of months out of them on bike-wash duty.
Floss with a clean rag between chainrings, cogs, and other hard-to-reach places.
Be commited. A clean bike rides better and lasts longer.
Don’t:
Mix your buckets, tools, and rags. You don’t want to cover your frame with drivetrain grease.
Use an abrasive sponge or brush on your frame.
Blast your bike with a high-pressure hose. Water will get into and degrade your bearings.